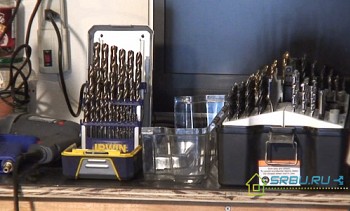
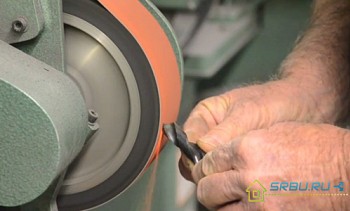
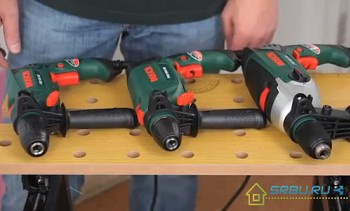
It may seem that drilling a hole in the wall is a couple of trifles. However, if the tool is incorrectly selected for a particular surface material, the drill may become dull or even break, and scratches and cracks may appear on the surface. To prevent this from happening, you need to know certain nuances of doing the work. How to drill, how to properly prepare the surface and choose a drill, we will consider further.
Content:
General recommendations for drilling holes
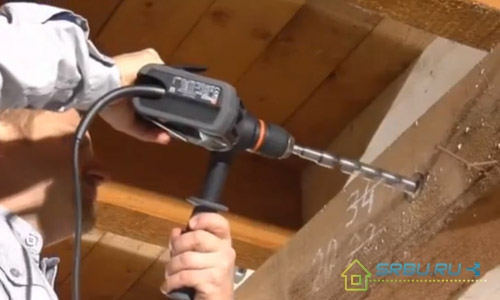
The tool must be properly held in hands. The drill should be straight and enter the surface in a vertical direction. To make it easier to drill and perform more precise drilling, you can use the additional handle, which usually comes with a drill.
Based on what type of surface you are working with, you need to select the material and size of the drill and determine the operating mode of the tool.
Here is the main principle of how to drill correctly: the material of the cutting tool should be harder than the material of the surface being drilled. Imagine the following situation. Suppose you decide to drill a wall of concrete with a drill designed for wood. You can rest assured that nothing good will come of this and the drill will have to be thrown away. Therefore, the type and material of the drill must be carefully selected for each type of surface.
Concrete wall drilling
1. The choice of drill. If the surface is brick, stone or concrete, you need to take a carbide drill. Usually for such purposes, use drill bits. They do not cut the material, but turn it into crumbs, so they are suitable for concrete or stone walls. But in order to make a hole in plastic, wood or steel, they are not intended. If you try to drill a wooden wall with a drill, the wood fibers will break, and the hole will be ugly, sloppy and of a larger diameter than necessary. Drilling steel using such a drill does not work at all.

Drill, drill for perforator and crown for concrete.
2. Surface preparation. Before drilling a wall, you must make sure that there are no electrical wiring, heating or water pipes in this section of the wall. For this purpose, it is most convenient to use a metal detector. It reacts to both iron and steel objects, and to objects made of non-ferrous metals. Using a metal detector, you can find out where the electric cables go and determine the depth to which drilling can be done.
Holes with a diameter of less than 13 mm are drilled, and wider holes with a perforator. However, several large holes can be drilled with a drill if its chuck is suitable for a conic drill with a diameter of 13 mm.
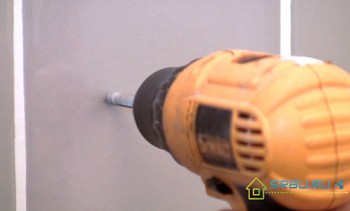
3. Drilling process. First you need to identify in which place the hole will be made. It doesn't matter if you use a hammer drill or hammer drill, in some cases, to start drilling, you need to transfer the device to a simple drilling mode without impact and make a recess at low speeds. It’s easier to start drilling, the drill will not jump over the surface and you will be able to drill more accurately. And after you have designated the place of the future hole, you can go into shock mode and add speed.
If you use plastic dowels, the hole should be deeper than the dowel length.As a rule, during the drilling process, a certain amount of crushed material in the form of dust remains in the hole, it is necessary to leave a margin of 10 mm.
Those who have repeatedly worked with the drill know that it is sometimes difficult to keep it in the required position. The tool itself has considerable weight, in addition to this, vibration occurs during the operation and dust flies. To avoid dust from entering the operator and the instrument itself, special dust collectors are available on the market today.
Video: How to drill a wall without dust
Metal drilling
1. The choice of drill. To make a neat hole in a metal surface, you should purchase a quality drill for metal. In this case, you should not use cheap drills, since they not only do not drill the foundation, but also cause a lot of trouble. Therefore, try to buy only proven, high-quality drills from well-known manufacturers. The normal price for a good drill is about 300 rubles.

Varieties of drills and crowns for metal.
2. Surface preparation. Before drilling metal, it is necessary to tilt the middle of the hole so that the drill does not slide off the surface. This work is carried out with the help of a center punch, which is a pointed metal rod. A hammer is hit on the center punch, and its tip knocks a notch in the surface. Thanks to this, the drill can be fixed in one position, and the hole will turn out to be correct and accurate.
3. Drilling process. To make a hole in the metal, the thickness of which exceeds 5 mm, it is advisable to use several drills. At first, work is performed with a drill with a small diameter, and then drilled with a large drill to the desired diameter. First, the drill is turned on at low speeds, then they increase the speed somewhat.
To drill metal was easier, it is advisable to put a board under it. This will make the holes more even and neat.
When metal processing is performed, the drill heats up. It is advisable to lubricate it with a special paste or coolant before work. If you don’t have one, ordinary engine oil is suitable. An exception to this rule is gray cast iron, which is always drilled dry.
To pull the drill out of the hole, you need to turn the drill in the opposite direction, if there is such a function in its mechanism.
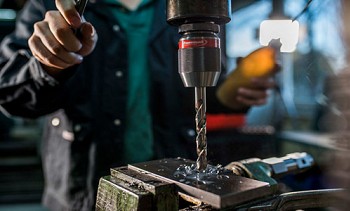
Often for drilling metal, a drill stand is used, to which the tool is attached. In this case, at the beginning of work, it is necessary to press on its handle only slightly, and when the shavings go, the force of pressure should be increased.

Drill installed in the drill stand.
There is a direct relationship between the thickness of the drill and the number of revolutions of the tool. Remember that the larger the diameter of the drill, the lower the speed. Suppose if you use a drill 4 mm in diameter, the tool speed is about 2400-2800 per minute. If the diameter of the drill is 6-8 mm, the number of revolutions is much less - approximately 1200-1300 per minute.
Video: Drilling red-hot steel
Tile drilling
See more in a separate article How to drill ceramic tiles - we select the tool and drill in accordance with all the rules:/instrumenty-i-oborudovanie/70-kak-sverlit-keramicheskuyu-plitku.html
1. The choice of drill. There are special drills for ceramics and glass. You can replace them with a drill for concrete with surfacing from Pobedit, if you have certain working skills. In this case, the drill bit for concrete should not be well-worn.

On the left is a concrete drill, on the right is a tile.

Drills used for drilling tiles.
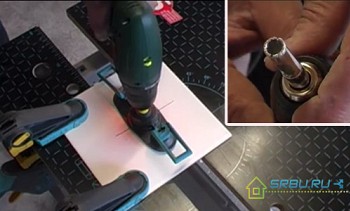
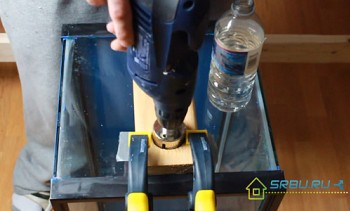
2. Surface preparation. The tile is rather slippery and hard, but at the same time fragile. In the event that you use a conventional drill for concrete for drilling, it is difficult to perform work on the tile, because the drill starts to slip and scratches the base. To avoid problems during operation, a piece of patch should be glued to the area where the hole will be made.If you use a special drill for tile, then you do not need to do this, the only thing is that if it is blunt it needs to be sharpened.
3. Drilling process. Now consider how to drill a tile. It is impossible to drill the tile itself using the shock mode, so as not to break off the icing. The tiles are first drilled. In this case, the pressure force should be small. Work is carried out at low speeds. After the tile is drilled, they switch on shock mode and make a hole in the wall. If a tile was drilled with a special ceramic drill, then after passing the tile it is replaced with a drill with a victorious tip.
Video: How to drill tile
Particleboard and wood drilling
1. The choice of drill. Holes less than 10-12 mm in diameter are usually made with a drill for metal. Special drills for wood need to be bought only when the diameter of the hole is large enough, or when high demands are placed on the quality of work.
Drills for wood come in several types:
- spiral;
- single-spiral (twisted);
- ring (crowns);
- feather;
- Forstner cylindrical drills.
If transverse drilling is performed, use a center drill, and if longitudinal - then spiral.

Above is a spiral, below a twisted drill on a tree.

Above are feather drills, below Forstner drills for wood and chipboard.

Various crown designs for drilling large holes in wood.
2. Surface preparation. In the middle of the hole, a recess is made with an awl so that the drill does not slip. To prevent chipping after the tool comes out, a block is placed on the back of the board.
3. Drilling process. Perform work at low or medium speeds. Particleboard has a particularly fragile structure, so in order to avoid peeling of the coating, drills with sharp edges are used, and a block is placed under the base.

