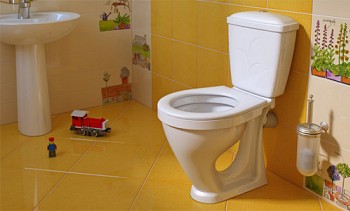
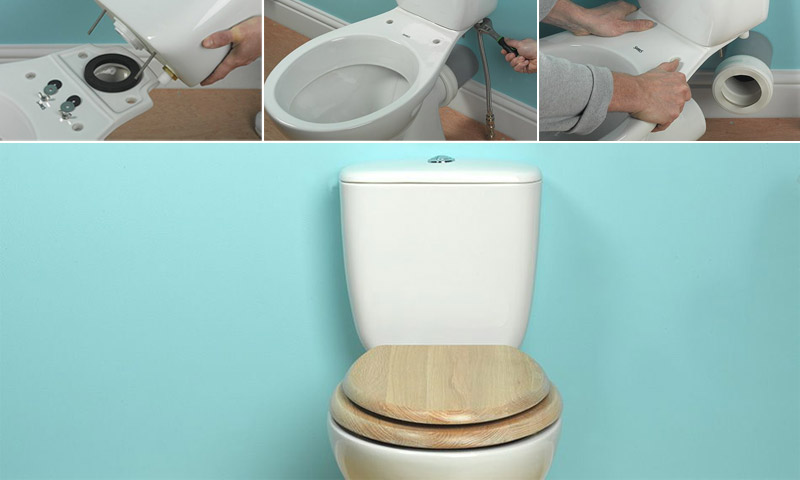
From our article you will learn how to install a toilet bowl with your own hands. This is a fairly simple operation, provided that you are able to shut off the cold water supply, and the supply and sewer pipes do not need major repairs. In this case, we will install a toilet with a lower location of the tank. This option is simpler, since most of the weight of the tank in this case falls on the toilet. When installing a toilet with an upper tank, reliable fasteners will be required to maintain the weight of the latter (for brick walls this is not a problem, but in the case of walls made of hollow materials, special tricks will have to be resorted to).
Content:
Toilet Installation Tips
1. If during the repair undertaken in the bathroom the floor height has slightly changed, it is necessary to compensate for the difference using an eccentric cuff - the so-called corrugation for the toilet (for sewage) and a flexible hose (for supplying cold water). In case of large changes in height, the skills of a professional plumber will be required.
2. If the floor in the bathroom is not even enough, it is better to install the toilet on silicone sealant. You can use small wooden / plastic wedges, but here you can not do without sealant, since it allows you to evenly distribute the weight of the toilet.
3. If the sewer pipes go down, through the floor, and not through the walls, you will need a rectangular elbow or a flexible corrugated cuff. This is not the only difference, but the main one.
Assembly and installation of the toilet bowl
1. We recommend starting work from the assembly of the tank (drain system). Lay out all the details to make sure you have everything.
3. Make sure all parts are securely fastened, but do not use excessive force when tightening bolts and screws.

5. How to install a tank on the toilet, you will understand without difficulty. The main thing is to do it carefully and make sure that you have not previously forgotten to place a large ring-shaped gasket between them.
Installation of a toilet bowl with a mounted tank
6. Insert the corrugated cuff (corrugated extension) into the sewer pipe, making sure it is snug. In our example, a simple straight connecting cuff is required. (When connecting the toilet to a cast-iron pipe, you will need a transition sleeve with a diameter of 110 mm. see photo. It must be copiously lubricated with silicone sealant and inserted into a cast-iron pipe pre-cleaned of dirt. see photo. Only then can a corrugated plastic cuff be inserted into it. techno.techinfus.com/en/)
10. Do the same with the toilet itself: check its horizontalness by means of an alcohol level and mark the places of the mounting holes on the floor, trying to be as accurate as possible.
12. Slide the toilet bowl off the wall. Drill holes for mounting the tank, focusing on the marks on the wall. Pick up (taking into account the material of the wall) and insert the dowels.
13. Drill holes in the floor at the points you marked. When drilling ceramic tiles, you will need a hammer drill and drill bit for concrete. At the beginning of drilling, the pressure on the punch should not be large, after passing through the tile layer, the pressure can be increased. Insert dowels into the holes. If the floor is wooden, as in our case, they are not needed.
14. Before putting the toilet in place, apply silicone sealant to the floor along the line marked with a pencil, corresponding to the border of the base of the “foot”.

16. Screw the base of the toilet to the floor. In this case, the same rules apply: first, do not forget about the plastic washers, and secondly, do not tighten the screws too tight.
Water connection and installation completion
17. Connect the tank to the cold water pipe. With a high probability, you will need a flexible connecting hose for this. The connection point depends on the position of the inlet pipe on the new tank.
19. Install the toilet seat as provided for in its design. If necessary, adjust the seat to exactly match the shape of the toilet.


