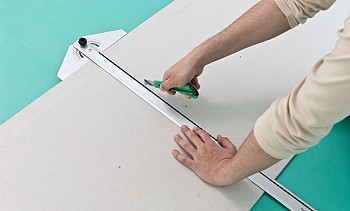
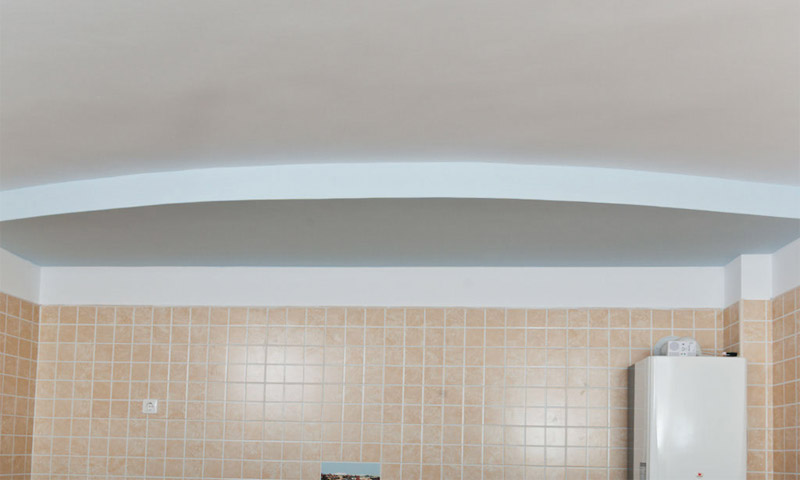
This article is about how to make a two-level ceiling from drywall with your own hands. As an example, consider creating a ceiling structure with an arcuate contour. Installation of such a ceiling may seem a rather difficult task for many, but we hasten to assure you that, having the right materials and tools and using our instructions, almost anyone can handle this work.
Content:
Key Points to Look Out for at the Beginning
#1. First, you must determine where you plan to mount the drywall ceiling. If we are talking about a room with high humidity, you should purchase a moisture-proof drywall. If the conditions in the room do not go beyond the norm, you can not spend extra money and buy a regular drywall.
#2. Secondly, you have to draw an arcuate contour that matches the shape of your future ceiling. At first glance, this task may seem easy enough, but reality will force you to change your mind. Carefully study this issue, decide on the form to which you will strive and, finally, transfer its projection to the ceiling.
#3. Thirdly, you must select the type of frame. You can give preference to wooden blocks: this material is cheap, durable and has a large range of sizes available. However, there is a great alternative - the metal profile: it is very light, stable and easy to install, and in addition, unlike wood, it can be given almost any shape.
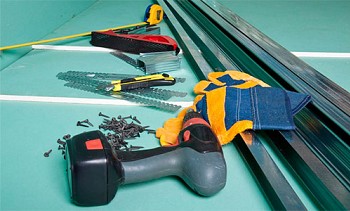
To create a two-level plasterboard ceiling, you will need:
Materials:
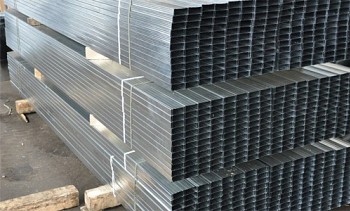
- guide and ceiling profiles;
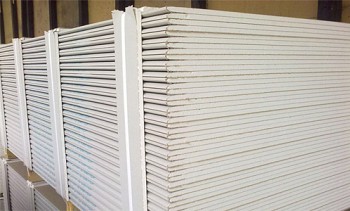
- drywall;
- self-tapping screws for GKL.
Tools:
- square or raiser, tape measure, pencil, knife;
- screwdriver;
- level;
- scissors for metal;
- ladder;
- protective gloves and glasses.
Tips:
Be careful when working with drywall - its sheets are quite heavy.
If you can afford it, buy or rent a special drywall jack.
Do not screw the screws too deep into the drywall, as this may result in material damage.
We make a frame from a metal profile
As we already said, the first step is to draw on the ceiling the contour of the design that you planned to make. If you were unable to draw the perfect curve on the first try, you can try again and again until you are satisfied with the result. Make sure that the marks that you apply are clearly visible, because you will be guided by them when you begin to install the frame from a metal profile.

The contour of the ceiling frame.
Make cuts on the walls of the guide profile every 10-15 cm, using metal scissors for this purpose. These cuts will allow you to bend the profile to give it the desired shape.
Tip: Use protective gloves to avoid cutting your hands on the sharp edges of the metal profile.

Cuts on the walls of the metal profile.
Using self-tapping screws, fix the prepared guide profile along the line marked on the ceiling. In our case, the ceiling was concrete, so we had to drill several holes in it, insert the dowels and only then fix the profile.If the floors in your house are wooden, you must first determine the location of the ceiling beams, and then fix the guide profile on them with self-tapping screws.

Drilling holes for mounting the profile.
So that the side wall of the profile does not interfere with drilling holes or screwing in, you should make rectangular cuts in it 2 cm wide every 15 cm. Of course, you need to do this before you proceed with the installation of the profile.

Mounting a metal profile to the ceiling.
Now you have to cut and attach to the metal profile a narrow strip of drywall - the side wall of your future two-level ceiling. The width of this strip will determine the vertical dimensions of the entire structure. We cut strips 15 cm wide, but you can lower the plasterboard ceiling vault even lower if you wish. The choice depends on the overall height of your room and on how comfortable you feel in a room with low ceilings.
Before doing this work, be sure to read the following materials:

Fastening the side wall of drywall to the profile.
Continue to fix the drywall with screws, using a screwdriver for this purpose. For 9.5 mm drywall, namely, we recommend using it for ceiling installation, self-tapping screws 25 mm long are quite suitable.
Tip: For high-quality fixing of drywall, the screws should be screwed in every 15 cm.

Fastening the side wall of drywall to the frame of the metal profile.
When installing the next strip, make sure that they are well aligned and, just as important, that they fit well together without leaving a gap.
Self-tapping screws should fit well into the drywall so that their caps are exactly at the level of its surface. Otherwise, you will have to spend more effort on finishing.

The joint of two sheets of drywall.
Tip: If the bend of your planned curve is very slight, drywall will take the desired shape without additional effort on your part. If you need to form a bend with a sufficiently small radius of curvature, you will have to learn how to bend drywall.
Continue installing drywall strips until you have finished the front of your future two-level ceiling. Make sure that the drywall is well fixed on the profile, otherwise the material will deform over time, and your ceiling will become unsightly.
The edges of the drywall must be trimmed very high quality. If you do not pay proper attention to such trifles, you will have to work hard at the stage of finishing.

The formation of the front of the ceiling from plasterboard.
A metal frame for mounting two-level drywall ceilings is much more complicated than you might think at first glance. Now you should install the second guide profile on the lower edge of the drywall strip you have already fixed. Do not forget to make incisions on its side walls to give the profile the necessary curved shape.

Securing the lower guide profile.
Use a screwdriver to fasten the profile to drywall - this will allow you to complete the job efficiently and save time. Screw the screws every 15 cm so that your design turns out to be sufficiently rigid and durable. Do not forget about safety measures: protective gloves will protect your hands from cuts on the sharp edges of the metal profile.

Fastening the side plasterboard wall to the lower guide profile.
Continue building the gypsum plasterboard ceiling frame by mounting a metal guide profile on the opposite wall. It should be strictly parallel to the lower profile set a little earlier.
Use a laser or alcohol level to make sure that the metal profile is perfectly straight throughout.Pay attention to such details, as they affect the quality of the final result.

Fastening the guide profile to the opposite wall, exactly opposite the previously attached lower curved profile.
Now it is necessary to strengthen the frame by installing support profiles connecting two metal guides. The distance between these crossbars should be about 50 cm, but at the same time, you must take into account the size of your drywall boards: the joint of two sheets must be at the location of such a bridge so that both sheets can be fixed on it. Pay attention to this aspect before installing jumpers from the reference profiles.

Creating a frame from a metal profile.
To increase the strength of the frame, it is necessary to install special metal suspensions on the ceiling and fasten jumpers on them with self-tapping screws. If the width of the drywall ceiling is less than 60 cm, you will need to install only one metal suspension for each transverse profile. If the width of the structure exceeds 60 cm, you need to consider installing at least two metal suspensions on each jumper.

Fastening the transverse ceiling profile using a suspension.
Both ends of each metal jumper must be carefully secured with self-tapping screws in the guide profiles. Make sure that all metal jumpers are perpendicular to the wall and parallel to each other.
Tip: Use a level to make sure all jumpers are strictly horizontal and level. If this is not the case, you may have made a mistake when installing the guide profile on the wall.

Fixing the transverse ceiling profile in the guide profile.
Gypsum plasterboard casing
So, you have completed the installation of the frame from a metal profile for a two-level ceiling. Make sure that the metal jumpers are parallel to each other, securely fastened at both ends in the guide profiles and with suspensions to the ceiling.
After you have checked the correct installation of the ceiling frame, you can proceed to the next step - covering the frame with drywall.
Before installing a drywall sheet, you must trim it according to the curve of your arc. Otherwise, when you already fix the plate on the frame, it will be very, very difficult to trim.
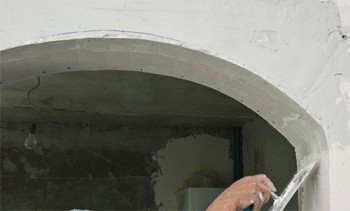
Do not worry if, after cutting, drywall does not perfectly match the curve of your frame - later you can fix minor flaws using fiberglass mesh and putty. Just make sure that these defects are really minor.

Fastening sheets of drywall to a metal frame.
Now you must fix the drywall sheet on all the guides and the ceiling profiles, screwing the screws every 15 cm. If you cannot lift the drywall sheet yourself, ask a friend to help you.

Fixing drywall to the frame from a metal profile.
Before you install the last sheet of drywall, you should solve all possible existing issues related to lighting devices. In our case, we needed to install spotlights, so we brought electric wires into the ceiling vault and marked the places where the lights would be mounted.
In addition, you have one last opportunity to check if you have forgotten any tools inside the drywall construction.

Placing electrical wires inside a plasterboard ceiling.
After you have finished installing the last sheet of drywall on a metal frame, your ceiling should look like what you see in the photo.

Fixing the last sheet of drywall.
Make sure all edges of the drywall boards are aligned. If you find minor irregularities, you have the opportunity to fix them with a knife.
Check if the drywall sheets are well attached to the metal frame everywhere.

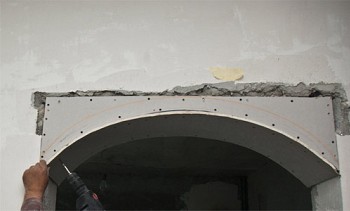
Two-level plasterboard ceiling with an arcuate contour.
Now you know how to make a two-level ceiling from drywall, and, for sure, you can put this knowledge into practice, making your home unlike everyone else.


