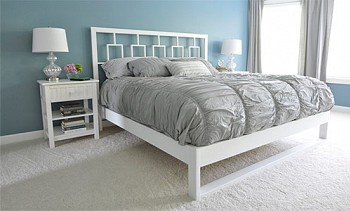
In this article, we bring to your attention a brief instruction on how to make a headboard with your own hands.
Content:
Purchase of necessary materials and tools
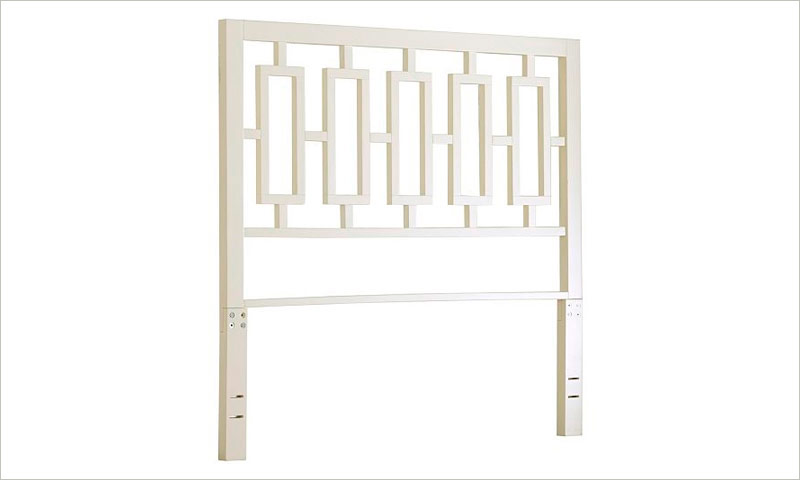
Below is a plan of the back. The given sizes are calculated on a double bed (King size, 1.9x2 m). Please note that all dimensions on the diagram are in inches; to translate them into centimeters familiar to all of us, it should be multiplied by 2.5 (1 "= 2.5 cm).

- board 5x10x240 cm (1 pc.);
- bars 5x7.5x240 cm (4 pcs.);
- bars 2.5x5x240 cm (5 pcs.);
- paint;
- primer;
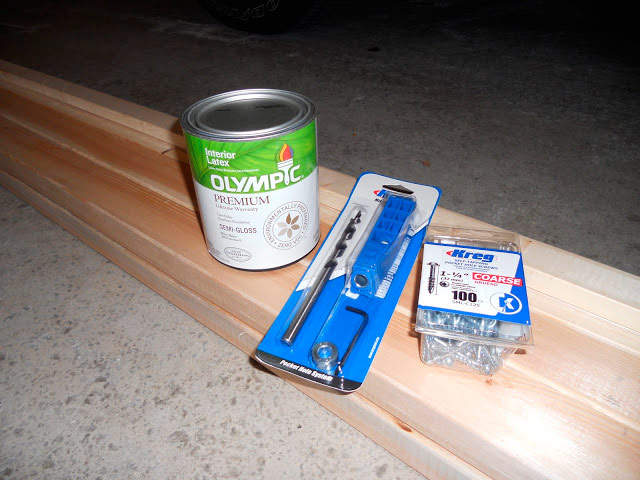
- screws for oblique connection to a length of 30 mm;
- angle drill (e.g. Kreg jig);
- hacksaw;
- clamps;
- square;
- screwdrivers;
- rollers for painting.
Sawing up of bars, boards and assembly of all headboard elements
The accuracy of the implementation of this stage of the work depends on the success of the entire project for the manufacture of the head of the bed with its own hands.
You need to cut the following blanks:
From the board 5x10 cm:
- one fragment with a length of 187.5 cm (75 ") - a horizontal bar at the very bottom of the back;
From the bars 5x7.5 cm:
- two fragments with a length of 187.5 cm (75 ") - the upper and lower horizontal horizontal bars of the head;
- two fragments 137.5 cm long (55 ") - legs;
From the bars 2.5x5 cm:
- ten blanks with a length of 22.5 cm (9 ") - horizontal elements of the" windows ";
- ten blanks with a length of 46.25 (18.5 ") - vertical elements of the" windows ";
- ten blanks with a length of 15 cm (6 ") - the upper and lower holders of the" windows ";
- six blanks with a length of 12.5 cm (5 ") - horizontal jumpers between the" windows ".
Lay out the sawn blanks as they will be located on the finished headboard. Turn the bars with the front side (i.e. the side whose surface is of the best quality) down. Mark the backs of the workpieces to know which side to drill holes on.

Drill holes for the oblique connection in a flush using an angle drilling tool.
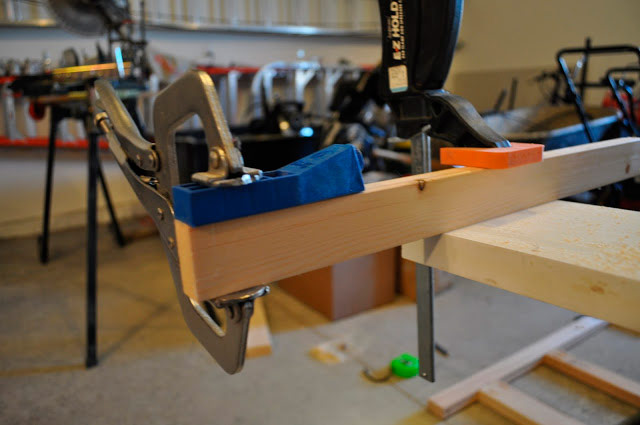
Assemble the headboard elements by fastening them with screws. At this stage, a square and knowledge of the basics of geometry will be very useful to you.
Sand the surfaces. We used the Rockwell Sonicrafter Sander belt sander for this purpose.
Prime surfaces. We applied FastPrime2 primer with a brush and a mini-roller. After the primer, your product will not look as you imagined at the very beginning of the project ... Do not worry, still ahead.
This stage of work (and, therefore, the entire project as a whole) is better planned for spring / autumn, but not for winter. We do not recommend that you perform paint work in a residential, poorly ventilated area.
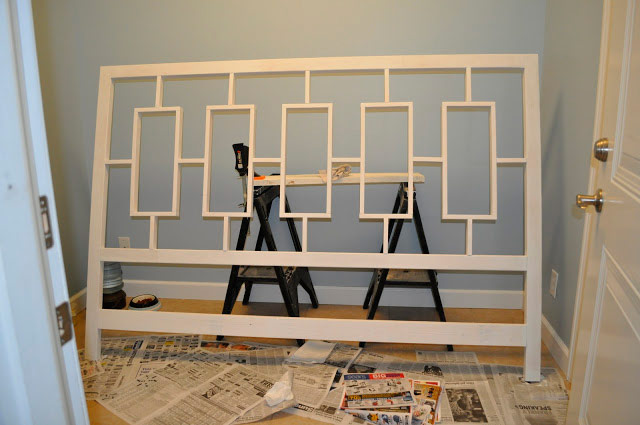
Apply two coats of paint. We used white semi-gloss Olympic Zero VOC Premium paint. It lays well on the surface and, most importantly, does not smell.
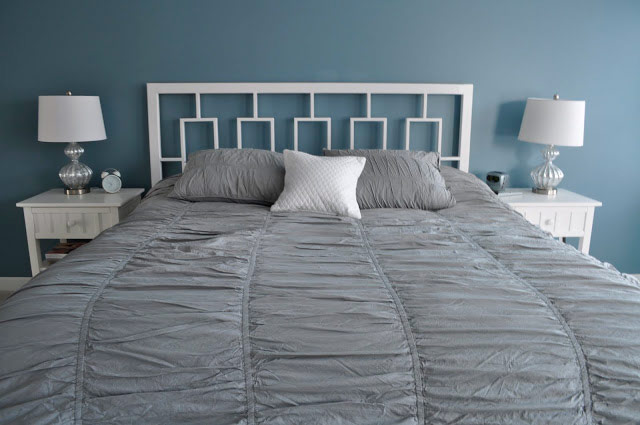
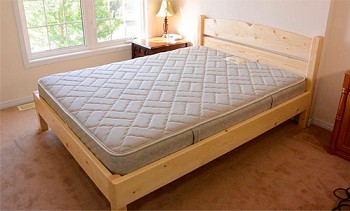
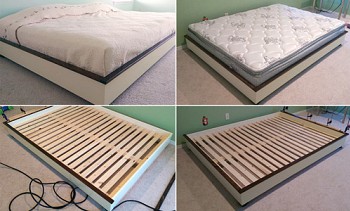
Attach the finished headboard to the frame of your bed using bolts, nuts and washers (we used what we could find in our garage). The bolts must be long enough to pass through the wood of the fastened elements.
With this, our master class on creating a headboard for a bed with your own hands is finished. If you have passed all stages of the journey with us, you just have to enjoy the result of your work!