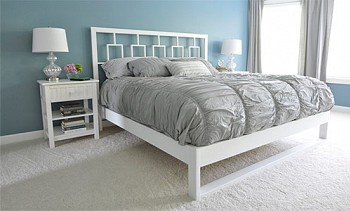
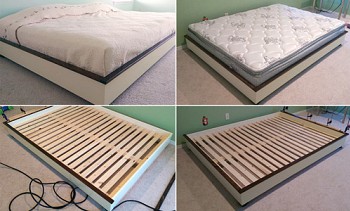
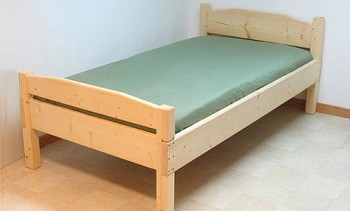
As a gift to my friend, who recently married, I decided to make a bed. I carefully planned the work, even found on the Internet a project for building such a bed, which describes in detail how to make a double bed with my own hands, however, in the end I had to step back a bit from this project.
To make the whole process of making the bed more understandable, at the beginning of this material, we placed a project that the author of this article used, based on this project, you can make your own double bed.
Content:
Wooden double bed project
List of required materials
The list of materials below suggests that they are all of good quality. In fact, you have to purchase more lumber than is listed, in order to be able to reject fragments with defects (knots, distortions, cracks, etc.). The rights are those who buy lumber more than required width and cuts out the blanks of the right size from them. As a rule, the greater the width of the board / bar, the higher the quality of the wood (narrow boards are cut from the trunks of thin, low-grade trees and often are often deformed).
| Lumber size | number | Place of application |
|---|---|---|
| 5x20x240 cm | 2 * | bed side rails |
| 5x20x360 cm | 1 * | lower headboard |
| 5x25x240 cm | 3 * | lower headboard |
| 5x7.5x240 cm | 3 * | for making legs |
| 4x4x240 cm | 2 | rack bottom supports |
| 5x10x240 cm | 13 | slatted bottom (you can also use 5x7.5 cm boards) |
| 60 mm wood screws | 24 | for securing the side railings of the bed |
| * Instead of boards marked with an asterisk, it is better to buy six 5x25x240 cm boards and cut blanks of the desired size from them. | ||
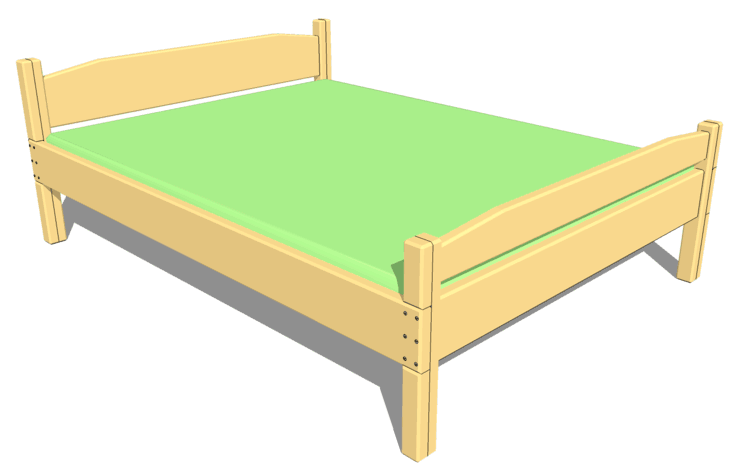
General form
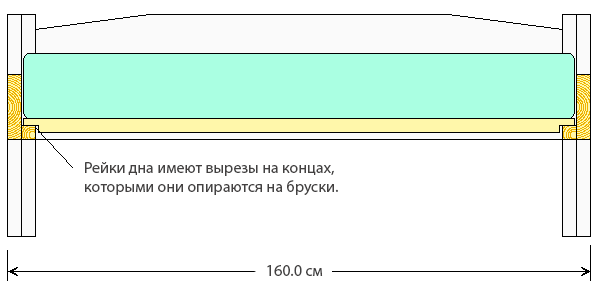
Cross section
Notice how the bottom rails rest on the bars supporting them.
Cutouts at the ends of the rails ensure that the latter do not add too much height.
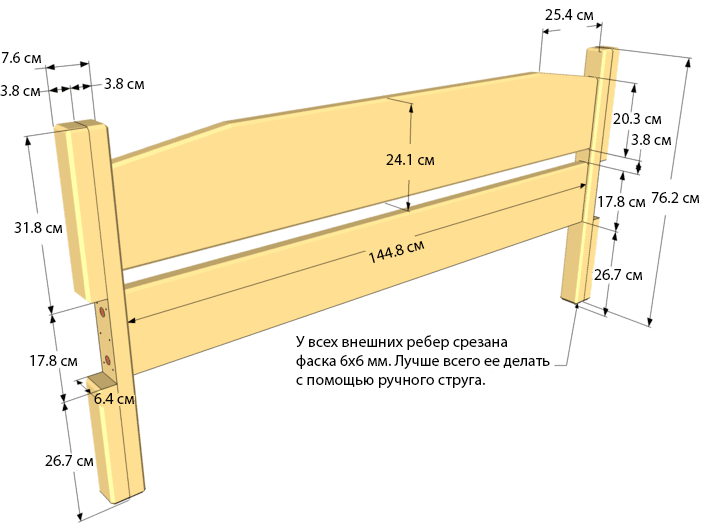
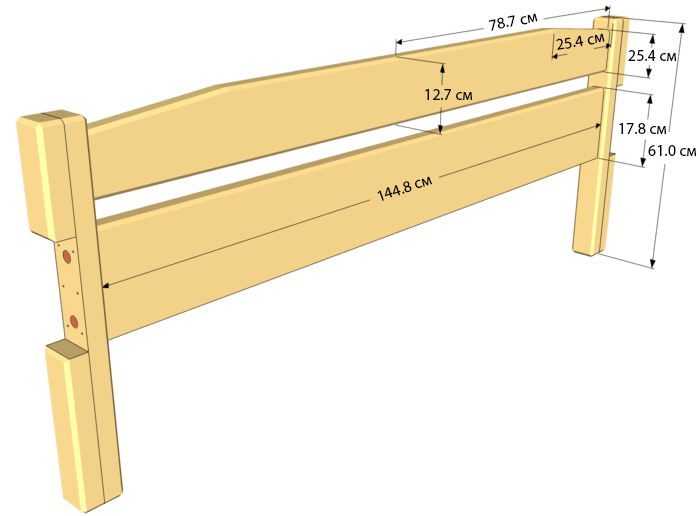
Headboard
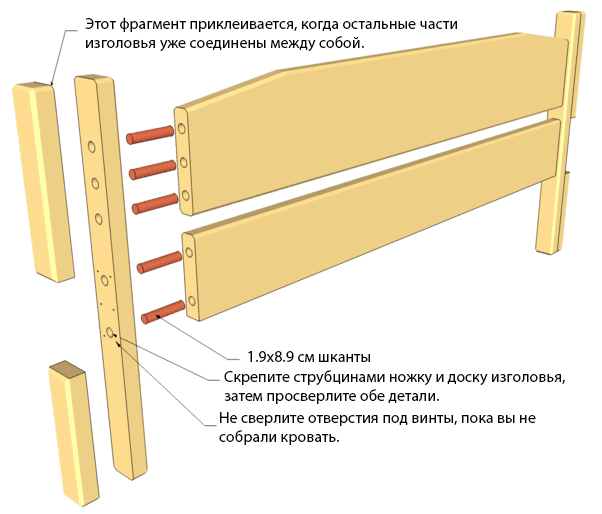
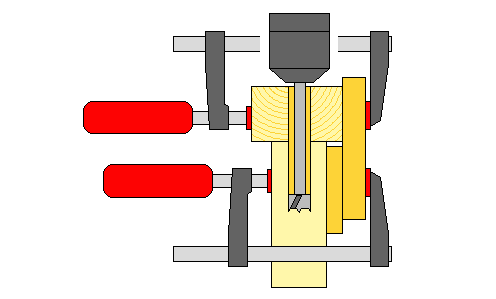
Holes for dowels are best done by clamping together a horizontal fragment of the head and leg. Drill a hole through both parts at once, as shown in the figure.
Foot
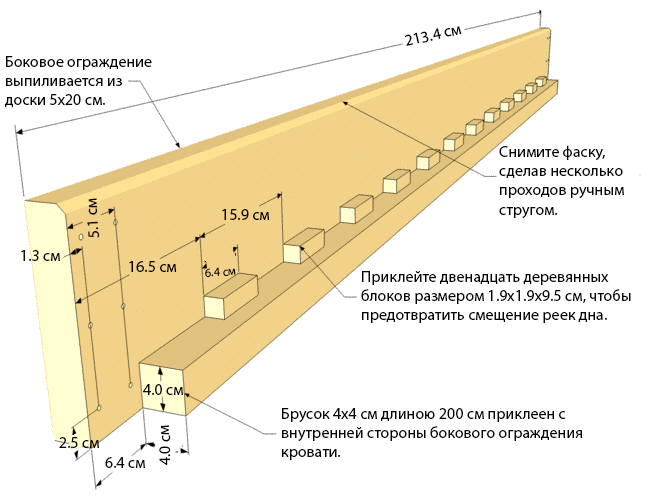
Bed side rails
On each side rail of the bed there is a row of bars on the support bar. The purpose of these bars is to prevent the movement of bottom rails.
The 4x4 cm bars that will support the weight of the rack bottom are best secured to glue and screws.
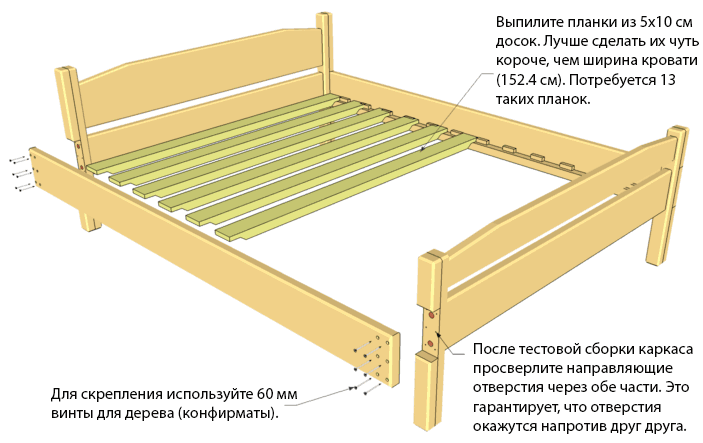
Final assembly
Side rails are attached when the bed is installed in its permanent place. To move the bed frame, they should be dismantled.
The slats that make up the rack bottom are not fixed. Slipping them along the support bars prevent small wooden blocks.
Next, we pass the word to the author of this material.
Preparation of materials and assembly of the bed
I purchased boards with a cross section of 5x20 and 5x25 cm. In my project, bars of 5 cm thickness are also used, but I did not buy them, deciding to make them from existing lumber, since the wide boards were of much better quality.

I have already acquired planed wood. It is enough to remove 1 mm on each side to get a perfectly smooth surface.
To process the sides of the boards, I used a homemade jointer.
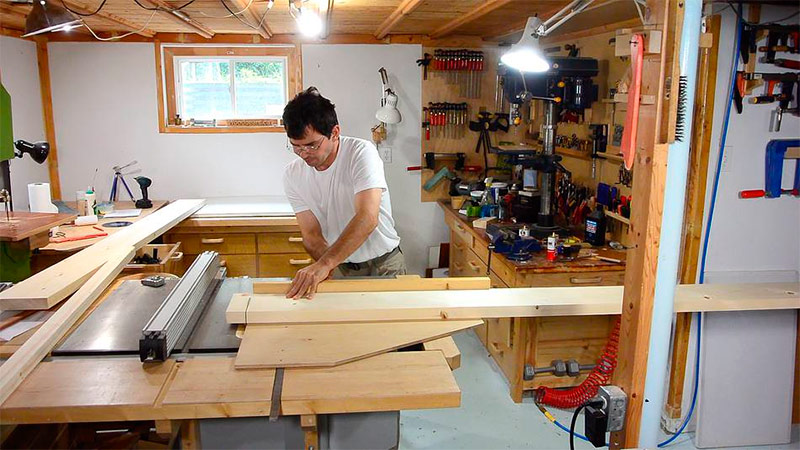
Now it's time to shorten the lumber to the desired length. Since the boards are very long and protrude far beyond the workbench, you have to press them strongly against the countertop to prevent the machine from tipping over.In this case, a sliding miter saw would be useful, but I don’t have one, and the workshop has too little space to install it.
Here you can observe the manufacturing process of the side railing of the bed. A 4x4 cm block, which will serve to hold the rack bottom, is glued to the lower edge of the side wall from its inner side.

Then I made blanks for legs - bars with a section of 5x6.5 cm, which I cut from 5x25 cm boards I have.
Having glued the bars together, I got legs for the head of the bed.

After the glue has dried, I aligned the glued edges with a jointer.
In accordance with my initial plans, I had to increase the thickness of the legs after assembling the head, so that I could freely drill holes in both parts at once. But I changed the sequence of actions, and it soon became clear that gluing the elements of the legs together before attaching them to the headboard boards is much more convenient.
I thought it would be nice to give the top of the headboard a smooth curved shape. Using the BigPrint program, I did a printout of half the profile, and transferred the outline to the tree.

Most of the head is a smooth curve. I used a flexible wooden plank to smooth out the line I drew.
Then he cut out the profile with his band saw ...
... and smoothed out the defects with a manual plane.
I have rounded all the edges of the head. In fact, at all open edges of the bed frame, a bevel of 0.5-1 cm is cut off.
It was decided to connect the legs with the headboards with the help of “floating” spikes inserted into the grooves with both ends. I made the spikes from 1.5 cm thick oak battens. (The project uses a different mounting method.)

In this photo you can see how I made the layout of the spikes that will hold together the elements of the headboard.

After the marking was done, I cut out the grooves for the spikes in the legs of the bed using a boring-grooving machine. I rarely use it, but it is really a good tool for this task.
Having cut out the grooves in the legs, with the help of a small square, I noted the location of the spikes at the ends of the boards that make up the head of the bed.
Cut grooves at the ends of the headboard.
An almost one and a half meter board hanging far beyond the workbench did not cause much trouble. The workpiece remains stationary, however, if necessary, I could install additional support.
Assembled the head of the bed.
The bed frame is easy to assemble. Even without glue, the reliability of all joints is not in doubt. But this is not the final assembly, I just check how elements fit together.
It was the turn of the rack bottom. The slats covering the entire width of the bed (1.5 m) are made of 5x10 and 5x7.5 cm bars. This is mainly used wood that I stored for later use.
To prevent the slats from moving, I pasted between them small wooden blocks.
I slightly reduced the thickness of the ends of the rails so that they "sat" a little lower on the bed frame. At the same time, I did not forget to make sure that the top surface of all the bars was on the same level.

Thus, even if the slats had different thicknesses, this heterogeneity will eventually be leveled, and the upper surface of the plane they form will be perfectly flat.
Now back to work on the headboard. I rounded all the outside corners, cutting off a ~ 6 mm chamfer.
Then glued the structural elements. The photo captures the process of gluing one of the legs to the headboard.
I rounded the upper parts of the legs located at the head of the head so that they harmonized well with the curved profile of the headboard.
Then he rounded off three of the four edges of these legs, cutting off a 12 mm chamfer. In addition, I slightly mowed the bottom of the legs located at the head of the head. Thanks to this, the bed can be placed close to the wall, and the baseboard will not be an obstacle to this.

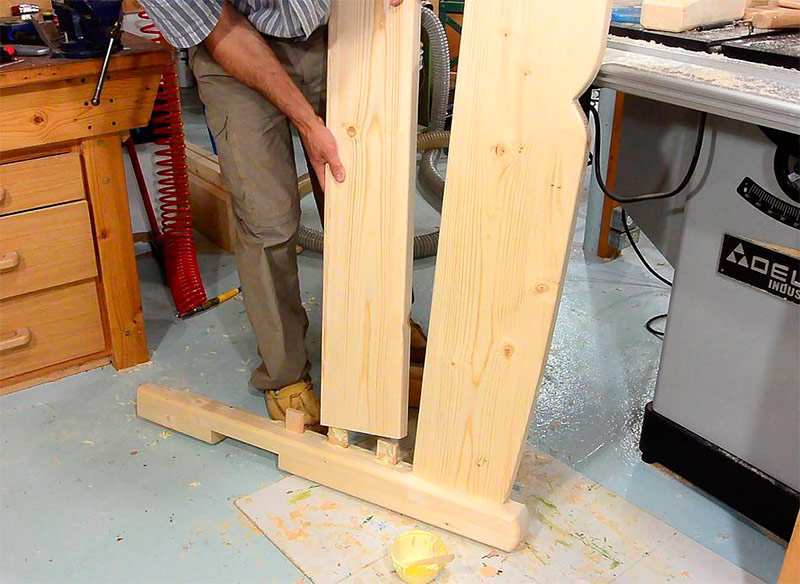
Glued the headboard.It turned out that working on the floor is much more convenient, because the ceiling in my workshop is too low to place the structure vertically on a workbench.
Attaching a second leg, when you need to drive five spikes into the grooves at once, turned out to be a difficult task. I could not do it manually ...
... so I had to use two clamps, a piece of board and a hammer. Thanks to this simple set of tools, I not only inserted the spikes into the grooves, but also eliminated the gaps.
Now we connect the back of the head to the side walls. Initially, I planned to screw the self-tapping screws fastening them from the outside, but during work I realized that I was able to tighten the self-tapping screws from the inside, thereby hiding them. I drilled a guide hole through both parts, and then pulled them off with 60 mm screws.
Having made the second headboard of the bed in the same sequence, I proceeded to cover all the elements with varnish. I screwed a small block to the headboard so that she could now stand on her own legs. The remaining parts for the period of varnishing I placed on my workbench. I applied two layers of varnish to the inside of the frame and three layers to other surfaces. The back of the headboard is covered with four layers, since it is more susceptible to wear.

It is time to transport the bed to the new owner. Fragments barely fit in my Honda Fit, however, it was not possible to close the trunk door.
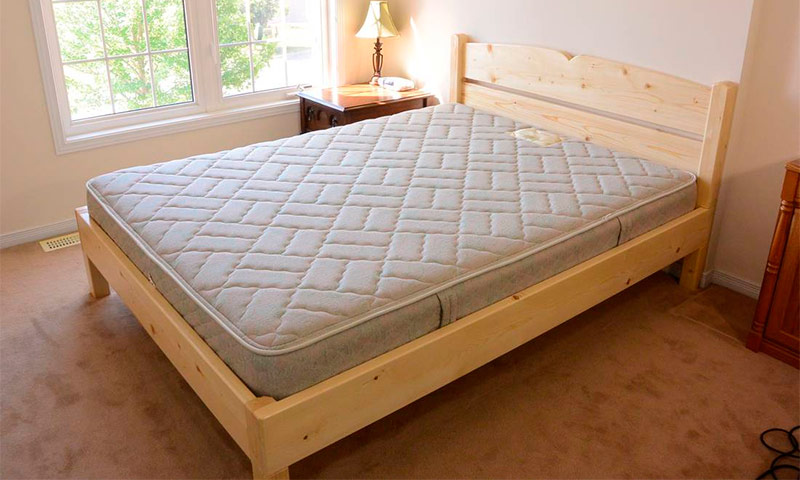
And now it is already assembled, with a 25 cm mattress. My buddy was thrilled. For a long time he wondered how he could make a double bed himself in such a short time. But his young wife really liked the presence of a storage space under the bed, where you can place a lot of suitcases, boxes and boxes.
Despite the fact that the author speaks English in the video below, we decided to publish this video. Having looked at it, you will better understand certain points of this article, all the more it is so interesting to watch how others work :).
Video: The manufacturing process and assembly of all the details of a double bed
Source: woodgears.ca/

